Now comes the fun part–aw heck, it’s all fun, right? Anyway it’s time to colorize the stars as you described them in your sketch or notes. Grab a soft paint brush that is slightly larger than the star, set the paint brush to “color” mode, and give it an opacity of 20% or so (see Figure 11). Next, whip up the color you want to apply to the star. I’ve found that I like to set up a swatch palette of the most frequently used colors that I can just pick from when I need it (see Figure 12). With the color ready, move the brush over the star and click one or more times to dab the color on. More clicks will give you stronger color (see Figures 13 through 15). Lower the opacity on the brush further if you need to get a very subtle color. Since the paint brush is in ‘Color’ mode, it won’t brighten or darken anything. It will just colorize the existing values.
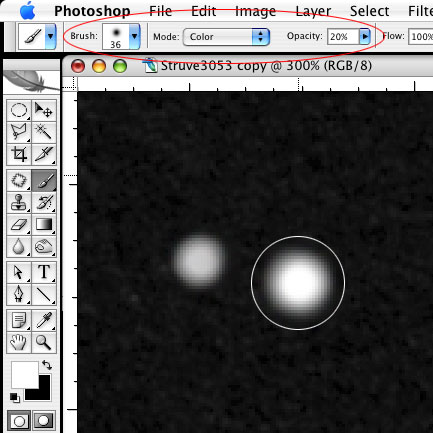
Figure 11
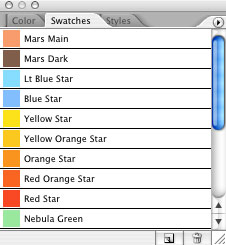
Figure 12
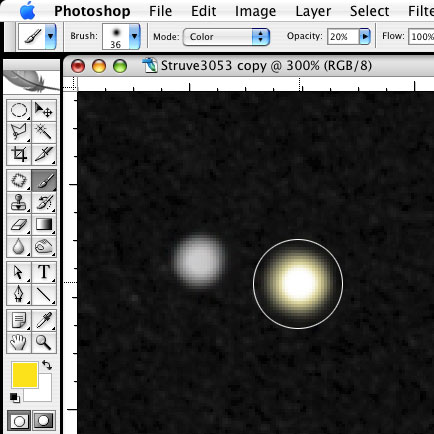
Figure 13
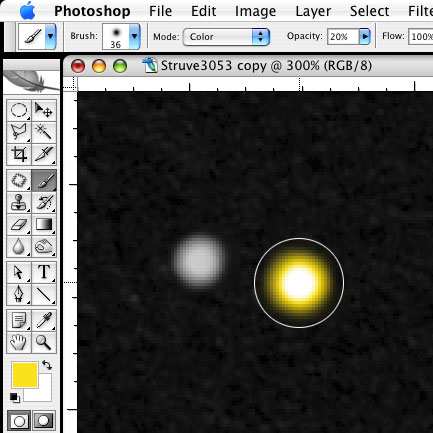
Figure 14
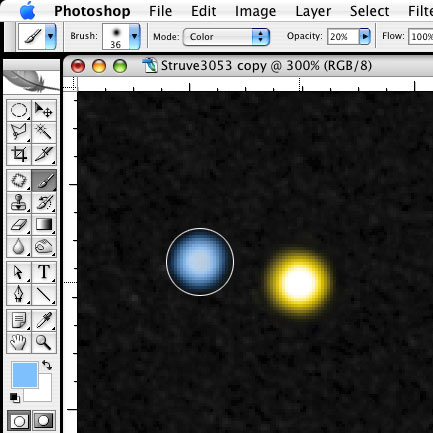
Figure 15
PAGE 3 OF 4
— First Page | Previous Page | Next Page —
Hi Jeremy,
My name is Math Heijen and I live in the Netherlands. I started scanning and procesing my double star sketches using your tutorial.It works very well. I was trying to get the star colors together, but I wonder if it is possible that you send me the swatch you us for coloring your stars.
Thanks
Math Heijen
Hi Math, I’m glad the process is working well for you. I’ve loaded a set of Photoshop swatches for the basic star colors. You can find it here:
Double Star Swatches
It is compressed as a zip file. In addition to the base colors, you may choose to add other colors if you want to portray false color contrast effects you see. If you have any problems using the file in Photoshop, let me know.
Jeremy