Since the Orion image I just posted was such a major project to process, I thought I should post my processing steps here for posterity, suggestions, or outright criticism. I definitely have room for improvement.
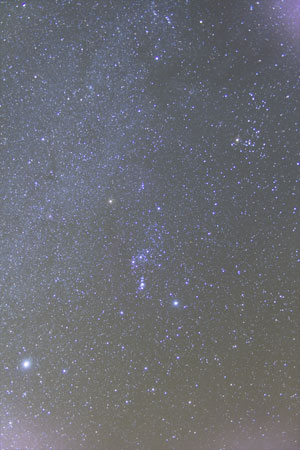
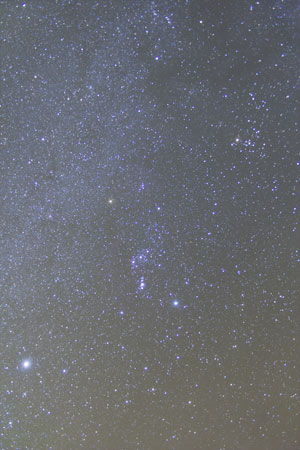
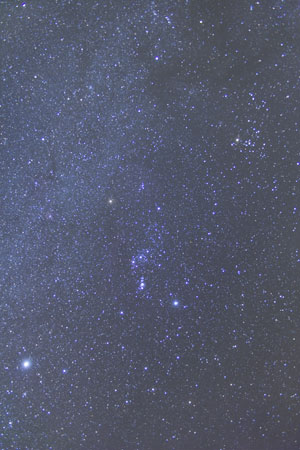
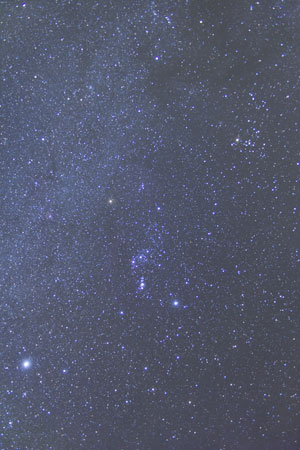
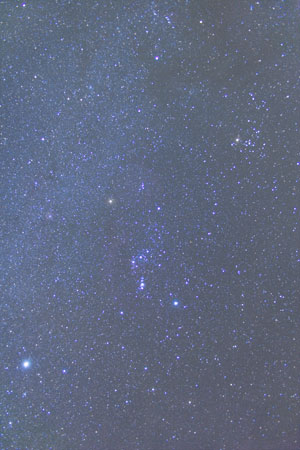
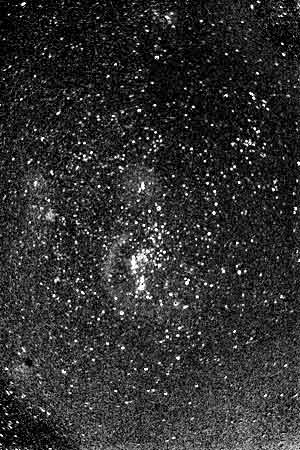
Here is the initial image that consists of 3 stacked images to help average out random noise. For the next few images, any adjustments I mention are applied individually to each of the 3 stacked image layers.

My first step is to apply a flat field image. I shot a picture at the same focal length, aperture and ISO of a white piece of foam core in diffuse sunlight at a short enough exposure so I got a nice gray range to remove vignetting. I invert this image, and set it up as a separate layer over each image in overlay mode. I adjust opacity until it evens out the vignette which causes the center to be bright and the edges dark.
My next step is to remove the noise and amp glow. I use the median filter to separate my dark images into a pure noise dark, and a separate amp glow dark. I subtract the noise from each image layer. Then I subtract the amp glow by inverting my amp glow dark and adding it as a layer in color burn mode at varying levels of opacity to get rid of the magenta corners. This hasn’t worked well for me when using RAW image files. They don’t match up exactly, even though I process all the raw images the same. So I had to do some additional dodge & burn. This definitely needs improvement. I should note that I add the dark subtraction layers below the flat field layer. So that technically, the darks are being subtracted before the flat is applied.
Next I add a curves adjustment layer to each image layer that is set to change the background color cast in the worst part of the image (lower left) to match the color cast in the upper portion of the image. Then I draw a linear gradient in the mask for the adjustment layer so the affect applies 100% at the bottom left, and 0% at the top.
After doing this, I still have some weird gradients in different areas. So I add a second curves adjustment layer to each image layer, set the curves to remove this color cast, and then softly, gradually dodge & burn into the layer mask to apply it to these areas and get as smooth as I can.
Next, I flattened the layers in the RGB image, made a copy of the file, and took it into the LAB color space so I could work on the color separately from luminosity. I then examined the channels in the original RGB image file and noticed that the blue channel had hugely bloated bright stars that was giving my bright stars a large, bright blue halo. The green channel on the other hand was nice and sharp and generally represented the overall luminosity of the image. So I copied the green channel. Then I went to the LAB copy of the image and pasted that grayscale version of the green channel into a new layer. I set that layer to ‘Luminosity’ mode and that helped unbloat some of the brighter stars.
Next, I added a curves adjustment layer and adjusted the a and b channels to bring the sky background areas to neutral (there was a bit of a blue cast, so I only had to adjust the b channel…a value of 0a + 0b = neutral).
The next thing I did was to add another curves adjustment layer where I adjusted the L channel curve to get the contrast hammered into place.
Next I added another curves adjustment layer where I boosted color saturation by selectively steepening the A and B curves to bring out more color. I steepened both the blue and yellow halves of the B channel. But I only steepened the magenta half of the A channel. I left the green half of the A channel alone, since steepening it added a bad cyanish-green cast to the Milky Way, which wasn’t quite right to begin with.
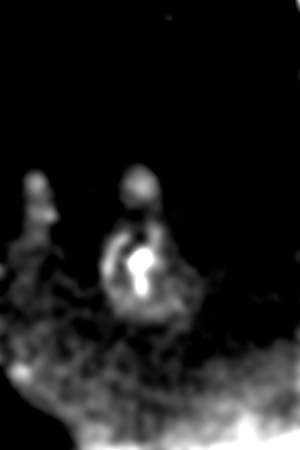
Since Barnard’s loop, Sh2-264, the Rosette Nebula and a couple others were tantalizing me with their subtle rosy hues, I decided to see if there was some way to naturally bring them out. An examination of the A channel (which governs magenta-green) showed a decent demarcation of these features. So I duplicated the A channel, and boosted the contrast to get this:
Then I ran the median filter on it to remove most of the stars and boosted the contrast some more.
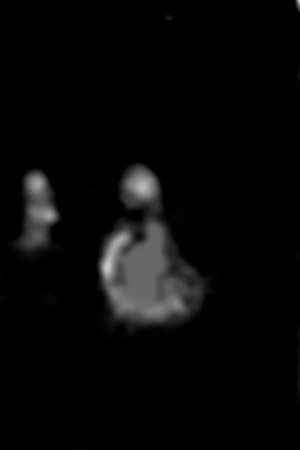
During this process, it was apparent that I still had an unfortunate magenta gradient running toward the bottom of the image. Since this wasn’t a natural part of the image, I painted that gradient out. I also darkened the blown out whites in the M42 area since that was already nicely displayed in the image by a very bright representation in the L channel. (Barnard’s Loop and Sh2-264 were still very subtle in the L channel by comparison). Here is what the channel finally looked like:
I turned this channel into a selection, and used it as a mask for a new curves adjustment layer. In this new adjustment layer, I pumped up the A and B channels to increase the saturation of the existing red color in these areas.
I made some final touches to fix some quirks of the LAB color space. In very bright, very saturated regions, like the center of bright stars, it can add a light color cast. I set up a separate curves layer that completely desaturated the A and B channels, and then set the blending mode for the layer to only apply to nearly pure whites that occur only at the center of these stars. Finally I flattened and converted the image back to RGB for web presentation.

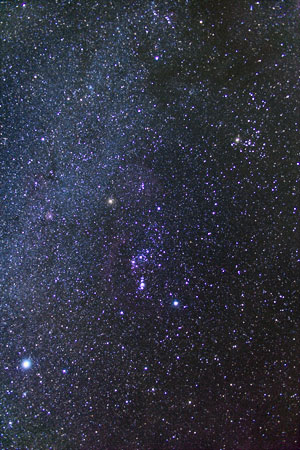
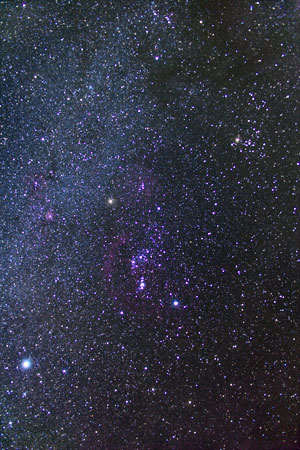
Final Image